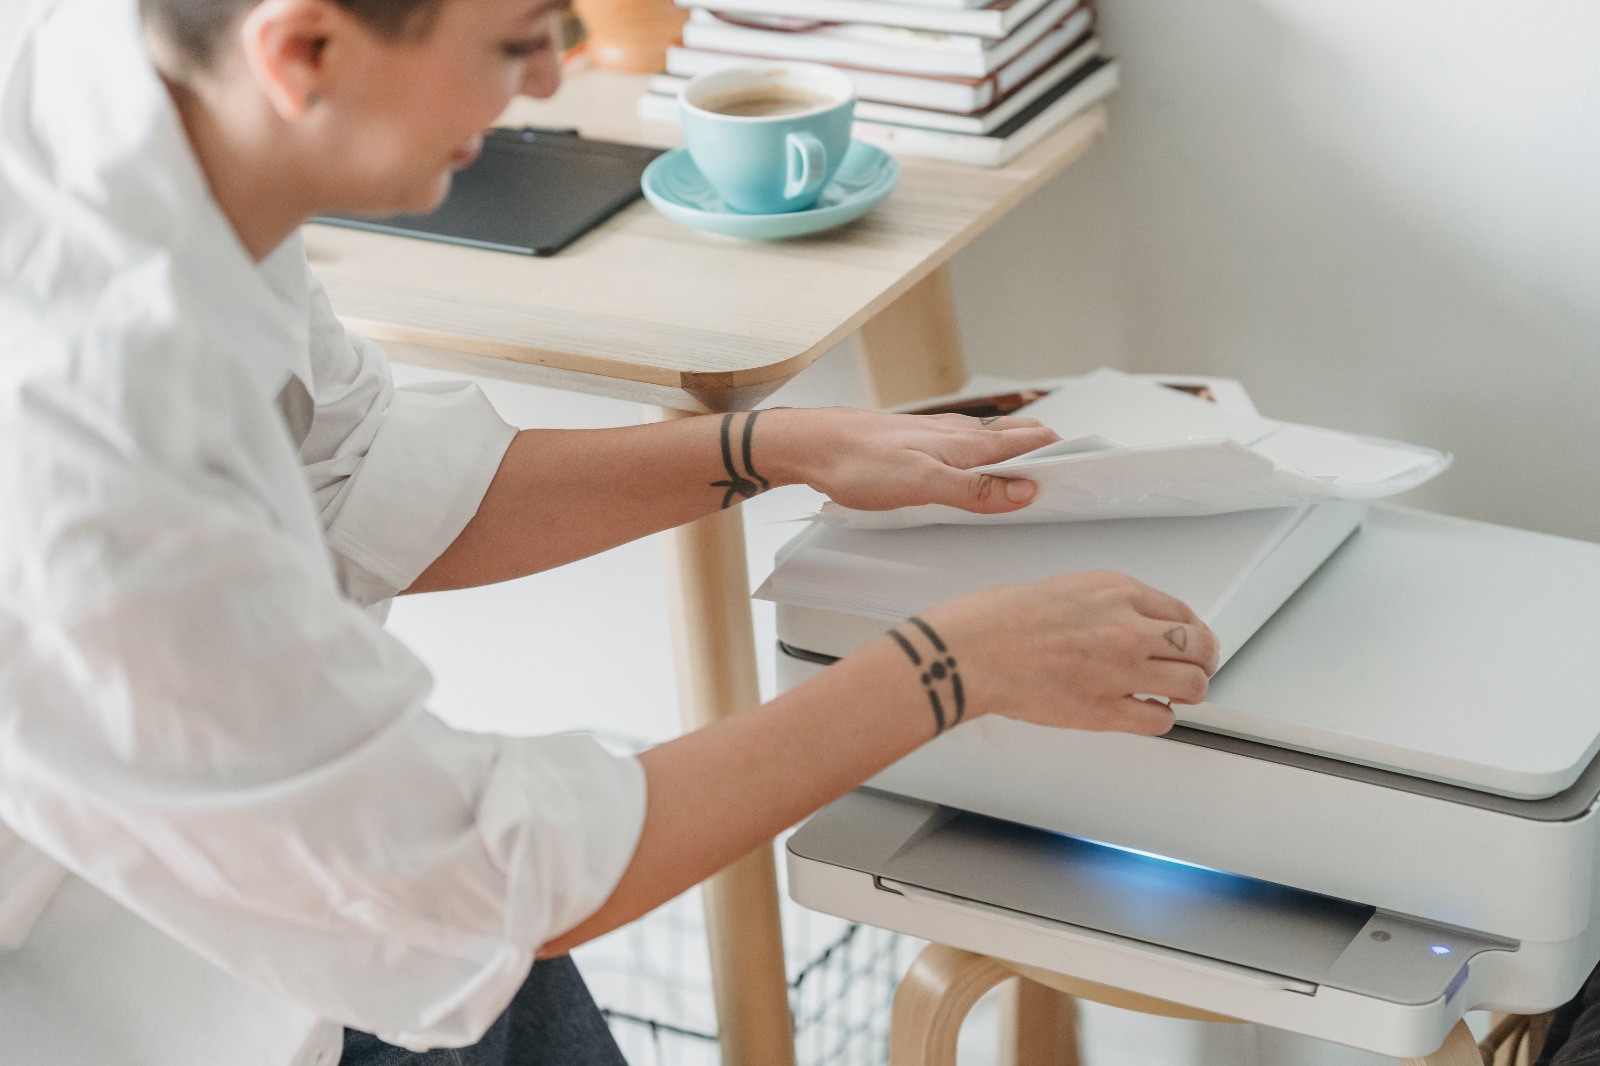
In the digital age, photo printers have revolutionized how we preserve and share our cherished memories. The ability to transform digital images into tangible prints allows us to appreciate our photographs in a whole new way. However, using a photo printer effectively requires some knowledge and guidance. You can find an extensive guide to accessories for photo printing on Photo Printing Accessories | Liene. In this comprehensive guide, we will walk you through the step-by-step process of using a photo printer, ensuring that you achieve stunning prints that genuinely capture the essence of your photographs.
Installing Printer Software and Drivers
Connect your photo printer to your computer or mobile device using the provided cables. Most printers come with installation software and drivers that enable communication between your device and the printer. Follow the instructions to install the software and drivers specific to your printer model. Once installed, you can adjust the printer settings according to your preferences. Pay attention to options like paper type, print quality, and color management to achieve the desired output.
Loading Photo Paper
Selecting the appropriate type of photo paper is crucial for achieving high-quality prints. Consider factors such as finish, weight, and compatibility with your printer. Ensure that the paper guides in the input tray are adjusted to match the size of the photo paper you are using. It will ensure accurate alignment and potential printing errors. Carefully load the photo paper into the input tray, ensuring it is appropriately aligned and does not exceed the maximum paper capacity.
Printing Your Photos
Once you have your printer software set up and the photo paper loaded, it's time to print your photos. Select the image or images you want to print on your computer or mobile device. Open the printing application or software associated with your printer model. Access the print settings to adjust parameters such as paper size, orientation, and layout to fit your desired output. Take advantage of the preview feature to ensure everything appears as desired and make any necessary adjustments. Once you are satisfied with the settings, initiate the print command and monitor the printing process closely.
Handling and Drying the Prints
After the prints have finished printing, handling them with care is essential. Allow the prints to dry thoroughly before touching or handling them to avoid smudging or damaging the ink. Drying times may vary depending on the type of ink and paper used. Follow the recommendations provided by the manufacturer. Once the prints have dried, carefully remove them from the output tray or printer, not touching the printed surface. Place the prints on a clean, flat surface to prevent curling or bending while they dry.
Post-Printing Considerations
Once your prints have dried, it's time to evaluate their quality and consider any necessary post-printing steps. Examine the prints closely and note any adjustments or modifications you might need to make for future prints. Consider factors such as color accuracy, sharpness, and overall print quality. Properly store and preserve your prints to maintain their quality over time. Keep them away from direct sunlight and extreme temperatures to prevent fading or damage. Regularly maintain and clean your printer to ensure optimal performance and longevity.
Troubleshooting Common Issues
Sometimes, despite careful preparation and execution, you may encounter common issues while using your photo printer. These issues can include paper jams, streaks, or color inconsistencies. In such cases, consult the troubleshooting section in your printer's user manual. It will provide specific guidance and steps to resolve common problems. Additionally, manufacturers often offer customer support and online resources that can assist you in troubleshooting issues and finding solutions.


